
7 Ways to Add Auto Layout Constraints Using the Storyboard in Xcode 9

Learn how to quickly add the constraints you need using 7 different techniques design for both Trackpad and mouse users.
It's one thing to understand the principles behind Auto Layout, and it's another to actually use Auto Layout.
Uses these 7 ways will help you prevent fatigue and will reduce your frustration when you go to add the correct constraints.
Two Mouse Setup
I use both a Magic Trackpad and a wired Logitech G502 mouse on my desk with my 15" MacBook Pro 2016.
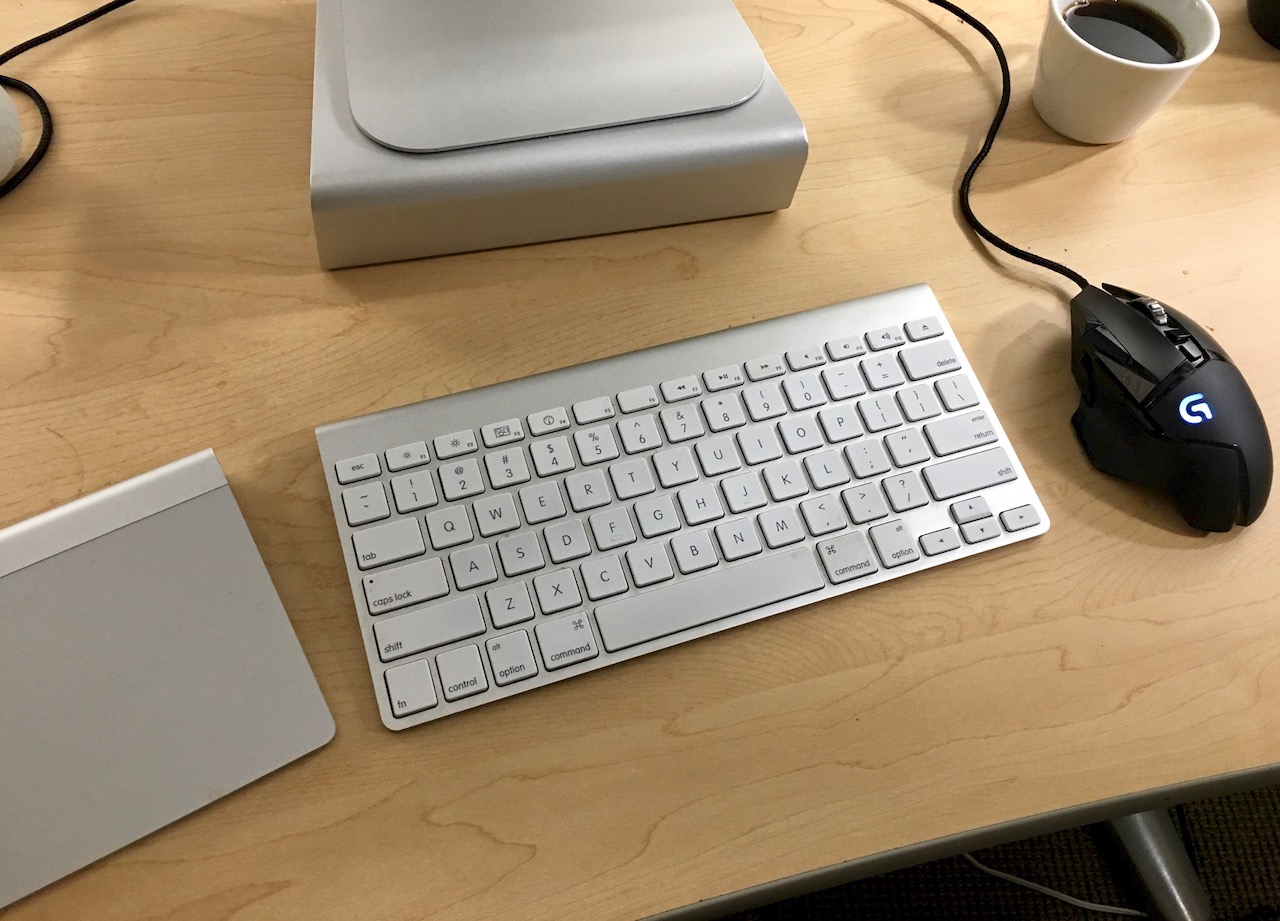
- The TrackPad makes it easy to scroll with a two-finger drag on a Storyboard file (or show my desktop with a gesture)
- The wired mouse is more comfortable to me than the Magic Mouse, and it's better for games without lag (i.e.: Starcraft 2).
Watch the Auto Layout Constraint Video
Follow along and see how I add these constraints using both my mouse and my Magic Trackpad.
Download the Xcode Projects
Grab the begin and end Xcode projects so that you can follow along with the video above to practice making constraints.
Try each of the 7 strategies presented to get into the Auto Layout flow.
1. Trackpad Users: Control + Single Finger Tap + Drag (i.e.: Left Click)

On a MacBook I typically hold control with my left hand, and then use my right hand to tap and drag.
2. Trackpad Users: Two Finger Tap + Drag (Right Click)

When I'm not at my desk and I need to add layout constraints, I'll use the two finger method. I find this one more natural, and it let's me reach further distances.
If you tap and hold with two fingers, you can lift one up and keep moving the connection line further away. One of your fingers must stay pressed while you drag, but the other can lift up and drag further with each repeated motion.
3. Control + Left Click + Drag on the Storyboard Canvas

If you don't have a right click (i.e. you might be using some Virtual Machine or MacinCloud.com), you will need to use the Control + Left Click option.
Make sure for any of these methods that you drag. Just clicking will show you the Outlet/Action menu, not the layout constraints menu.
4. Right Click + Drag on the Storyboard Canvas

I use the Right Click and Drag the most. It's the most natural when I'm at my desk, and it's something I can do very quickly.
The challenge is that you can't always make the connections you need to using the context sensitive layout constraints menu (more details below).
5. Right Click + Drag From the Canvas to the Document Outline Layer

I tend to use this approach anytime I need to setup layout constraints between containing views.
If you need to center content along the top of your app, you'll need a containing view. And in order to get your Top or Bottom constraints to the Safe Area, you need to drag to your Document Outline.
Typically this means dragging to the "View", but if you've created a complex hierarchy, you'll need to drag to the appropriately labeled UIView container.
6. Right Click + Drag Between the Document Outline Layers

When you have a really complex UI with multiple elements on top of each other (i.e. UIImageView on top of a UILabel), it can make it hard to add constraints from the Storyboard canvas. You can shift click to "pick" the layer, but this is cumbersome and error prone.
For these instances the easiest way is to click and drag between layers in the Document Outline itself.
If Right Click doesn't work for your (i.e. Virtual Machine) you can still use the Control + Left Click to do the same effect.
The last approach will help in situations where you want to add tons of constraints to a group of similar objects very quickly.
7. Use the Pin Menu
I rarely use the Pin Menu, since it doesn't let me think in a visual sense. But if you need to layout something like a calculator interface with lots of buttons, this can save you a ton of clicks.
There are two different menus, so to use these effectively you need to work a bit differently than you would if you were working on one or two views at a time.
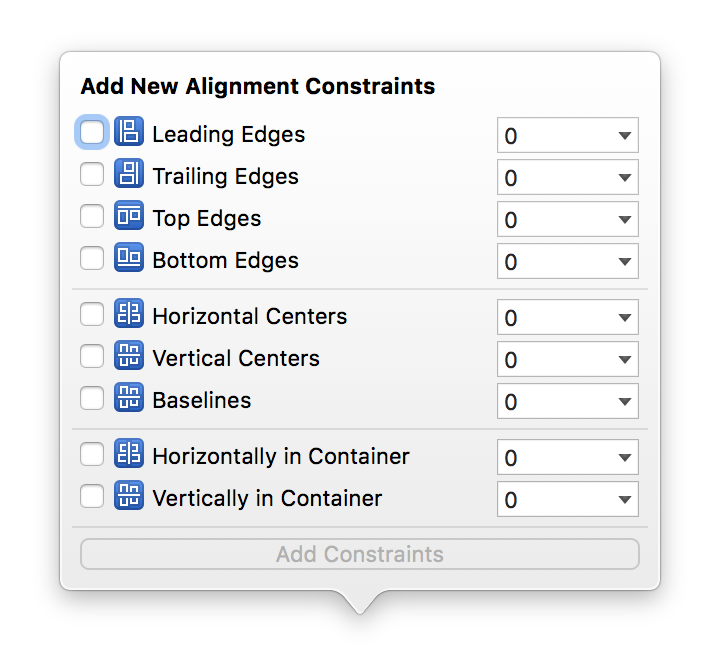
The Align button will allow you to set leading edges, or quickly center content within a container.
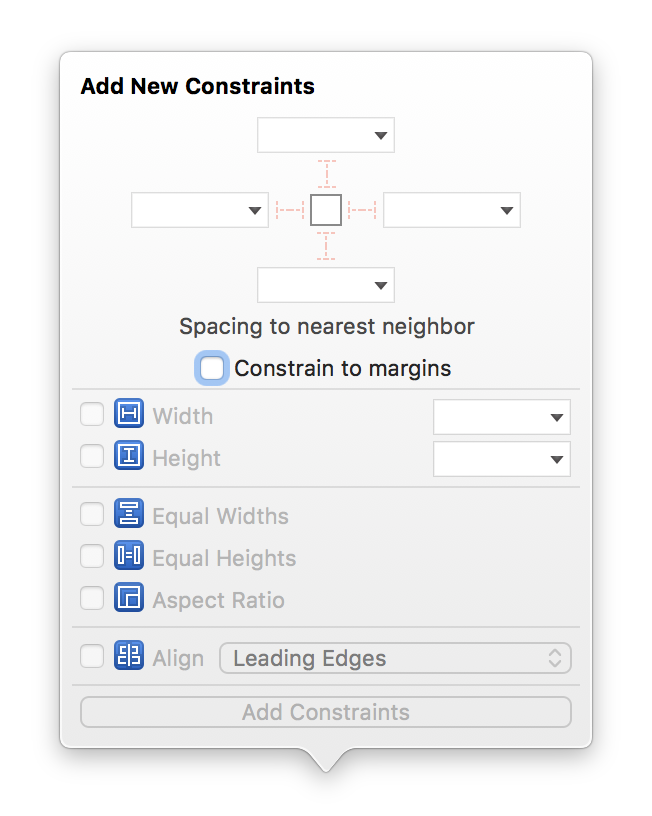
The Add Constraints button will allow you to setup spacing between views in addition to size constraints.
Try using the different approaches as you start to master Auto Layout.
Save Time and Click Less When Adding Constraints
When you use the mouse drag techniques described above, Xcode will only show context sensitive constraints. I have never found this very helpful.
Out of habit when I create constraints between UI elements, either adjacent buttons, or to the bounds of a containing view, I always drag in a diagonal direction to avoid missing the "context sensitive" constraints.
Drag diagonally when you add constraints and you'll see more options to choose from, this is very handy when I set both the Leading and Top constraints for an image.
This will save you time and mouse clicks, since it will show you all of the constraints.
Document Outline Reduces Clicks
You can avoid the context sensitive menu if you Right Click and Drag to the Document Outline. When you do this technique, it'll show you all of the available options.
In my opinion Apple should change the context sensitive constraints menu, since it never shows me what I want, when I want it. I always have to do another click and drag to find the constraint that was hidden.
If you want to see how to apply these skills to an actual user design, signup for one of my upcoming Auto Layout workshops.
Download the Xcode Projects
Grab the begin and end Xcode projects so that you can follow along with the video above to practice making constraints.
Try each of the 7 strategies presented to get into the Auto Layout flow.
Auto Layout Book
I'm writing a book on Auto Layout for beginners. If you'd like to learn more, sign up for pre-release materials.
Click here to get early access to the Auto Layout Book
What did you learn?
Comment below and tell me if these methods to add Auto Layout constraints were helpful.